Navigating the Depths: The Temple Grounds Expedition in Metroid Prime 2: Echoes
- 2024-08-05 07:35
Embarking on another exciting chapter in the saga of Metroid Prime 2: Echoes, we find ourselves navigating the Temple Grounds after Samus' crash landing. Players are introduced to this mysterious terrain through a brief scenic cutscene. While the visuals may not be particularly captivating, the area itself plays a crucial role in advancing Samus' journey. This walkthrough will guide you through essential steps and challenges encountered as you delve deeper into the Temple Grounds and beyond.
The Journey Begins
We start our expedition by heading along the path past a large box, maneuvering towards an imposing door. The local bugs are a nuisance, but nothing too challenging for Samus. Be sure to scan the control panel on the right, which will attempt to drop the crate from the previous area. As expected, it won’t be straightforward and the crate gets stuck. Aim at the rope holding it and fire to release the crate, turning it into a makeshift platform to cross the gap.
Encountering the GF Gate Mk VII
Once through the door into the tunnel, use your scan visor to locate and scan the GF Gate Mk VII. This entry is a valuable addition to your logbook. As you proceed through the cave, another gate stands in your way. Scan the panel to the left to open it, though this action will seal off the cave behind you. Splinters will immediately go after Samus’ ankles—blast them away to continue forward.
Discovering PFC L. Brouda
In the subsequent area, PFC L. Brouda lies sprawled on the ground in a manner reminiscent of a rough Monday morning. After scanning this new lore entry, activate the nearby panel to attempt communication with the outside world—unfortunately, to no avail. Move forward with caution as Dark Troopers lurk in the upcoming room.
GF Encounter: Growler Class Turret
While navigating the tunnel, you’ll encounter a room swarming with Splinters. A Growler Class Turret is gunning them down, but it will target Samus as well. Scan it for a logbook entry before neutralizing the threat. Continuing onward, you will hit another obstacle where a gate lacks a scanning panel. Turn into your morph ball form and discover SPC M. Angseth alongside the control panel hidden through a small opening. Scan Angseth and the panel to partially open the gate—timing is crucial to roll through successfully.
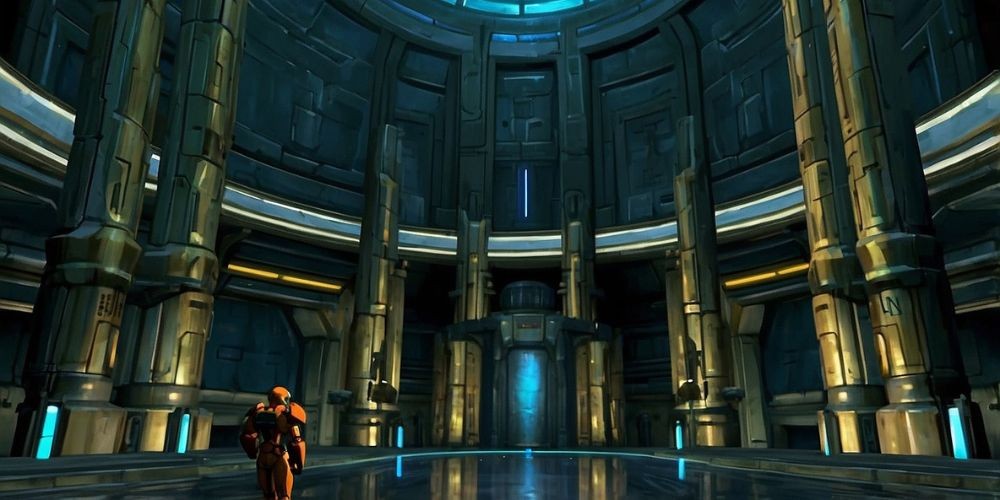
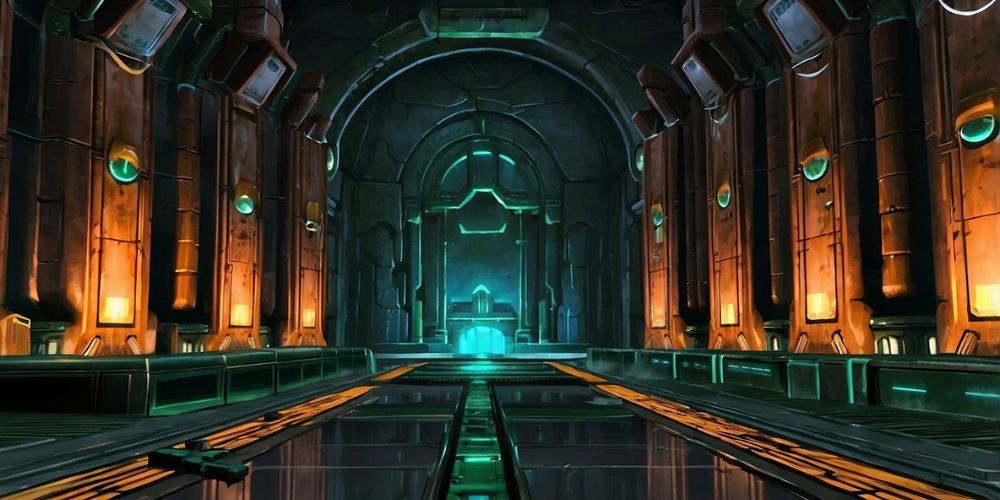
Unraveling the Great Temple
Emerging from the caves, the scene cuts to the Federation Troops' ship, the GFS Tyr, revealing the soldiers' valiant but doomed struggle against dark creatures. As you investigate, scan the bodies of the fallen troops scattered around for logbook entries: CAPT A. Exeter, LCPL J. Brode, and more. Samus' trusty Missile Launcher can be found by destroying a yellow box, enabling her to once again use missiles—a crucial upgrade given the impending threats.
Confronting Dark Splinters
Missiles in hand, a swarm of Dark Splinters will soon attack. Ensure to scan one before annihilating the group. Further exploration of the ship offers more poignant lore entries from PFC G. Haley, PFC S. Milligan, and SPC F. Triplette, revealing their grim experiences on Aether. With these entries secured, head into the ship and gain access to a map that will guide your progress further.
Investigating Further
Freshly armed and informed, proceed to the right side of the ship through a large hole. PFC I. Crany’s logbook entry discloses intriguing skepticism about Samus’ existence. As you near an alien device, a scan reveals it to be a Kinetic Orb Cannon. Activate the cannon through the control panel and morph into a ball to be shot across the area, opening a missile-locked red door for progress.
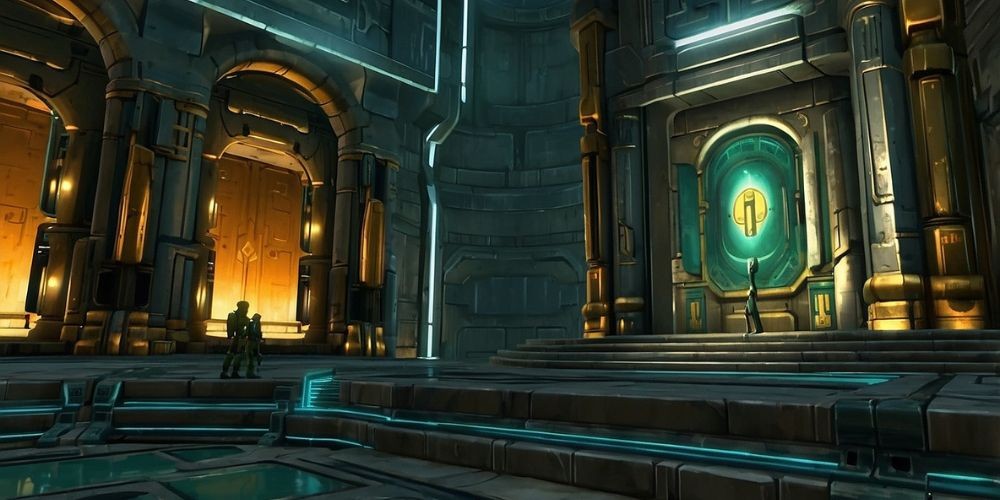
Uncovering New Secrets
Deeper exploration uncovers PFC E. Denys blocking the left path. Scan and move through the right. A room filled with War Wasps demands caution—lock onto them to clear the area. Utilize another Kinetic Orb Cannon to escape. Emerging on the surface, blasting a War Wasp Hive adds yet another entry to your logbook before you proceed right towards another kinetic cannon.
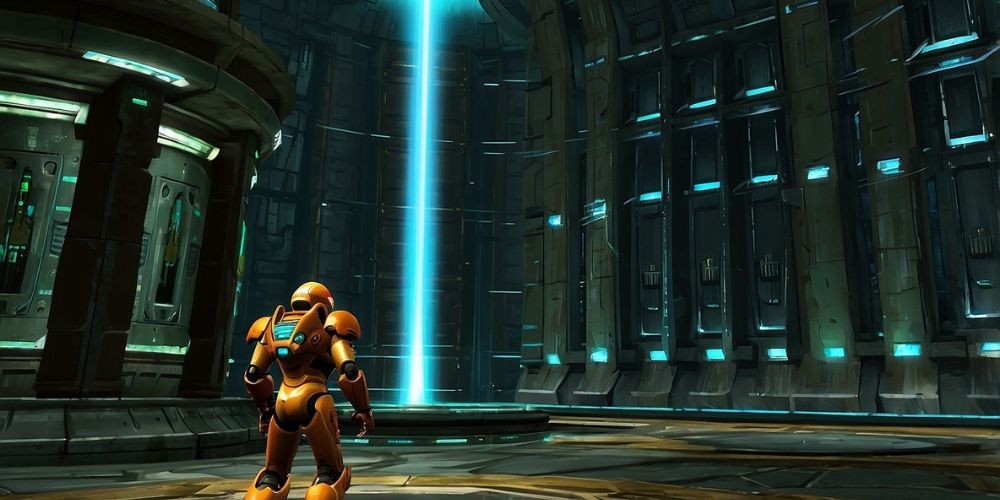
Onto Greater Heights
Having cleared various obstacles, activate the elevator leading to the Great Temple. Two fallen aliens mark the entrance, and a giant spinning wall leverages your power. Follow the cables to discover a save point. Recharged, Samus is ready to delve deeper into the Temple. Scan and destroy Alpha Splinter and Dark Alpha Splinter—your first boss fight in Metroid Prime 2: Echoes!
Thus concludes this leg of our journey in Metroid Prime 2: Echoes, setting the stage for yet more thrilling encounters and discoveries in this dark, alien world. Stay vigilant and prepared as the mysteries of the Great Temple and Aether unfold further.